 Sign Up
This article is about Software Development
Building an app from scratch using Java
By NIIT Editorial
Published on 25/06/2021
8 minutes
Web and mobile applications are an integral part of the digital world. An application program is thoroughly designed to conduct a specific task that the end-users can easily use. Applications like a word processor, media player, etc. are two such examples. But have you ever wondered what all goes behind in the building of an application?
Java is one such famous and efficient programming language that helps in building an application. In this article, we are going to discuss how to build an application from scratch with the help of the most used programming language – Java. For better insight, you can also take up java development courses.
An introduction to Java
Being one of the most sought-after programming languages used in Android development, Java has been an aid for the developers while making them capable to build a variety of apps, tools and games. It is an object-oriented programming language developed by Sun Microsystems in the 1990s, later purchased by Oracle. With object-oriented, we mean the way the java code is structured. These can be modular sections like “classes”, working together to deliver a cohesive experience.
C and C++, the most known programming languages, have also influenced Java and hold many similarities amongst them. Java is a hassle-free language as it is “platform-independent”. Simply stated, a code written on one machine can easily be run on another one. You are not confined to only one device.
With that being said, let’s dive into the intricacies of building an application with the help of JavaFX (as the GUI toolkit). To initiate a career in building and designing apps, you can also take help from this java certification course conducted online by NIIT.
Prerequisites:
For making an application for both Android and iOS platforms, you need to meet some requirements. (For those who do not want to build an iOS application can go for any x64 bit machine supporting Java SE 8).
Listed below are the requirements:
- A JDK 1.8 Compliant JVM
- Android Command Line Tools (SDK version 27)
- XCode 9.2
- Gradle 4.2
- Git Large File Storage (version 2.5.0)
- Preferably 4GB RAM minimum
Steps to create an application using Java:
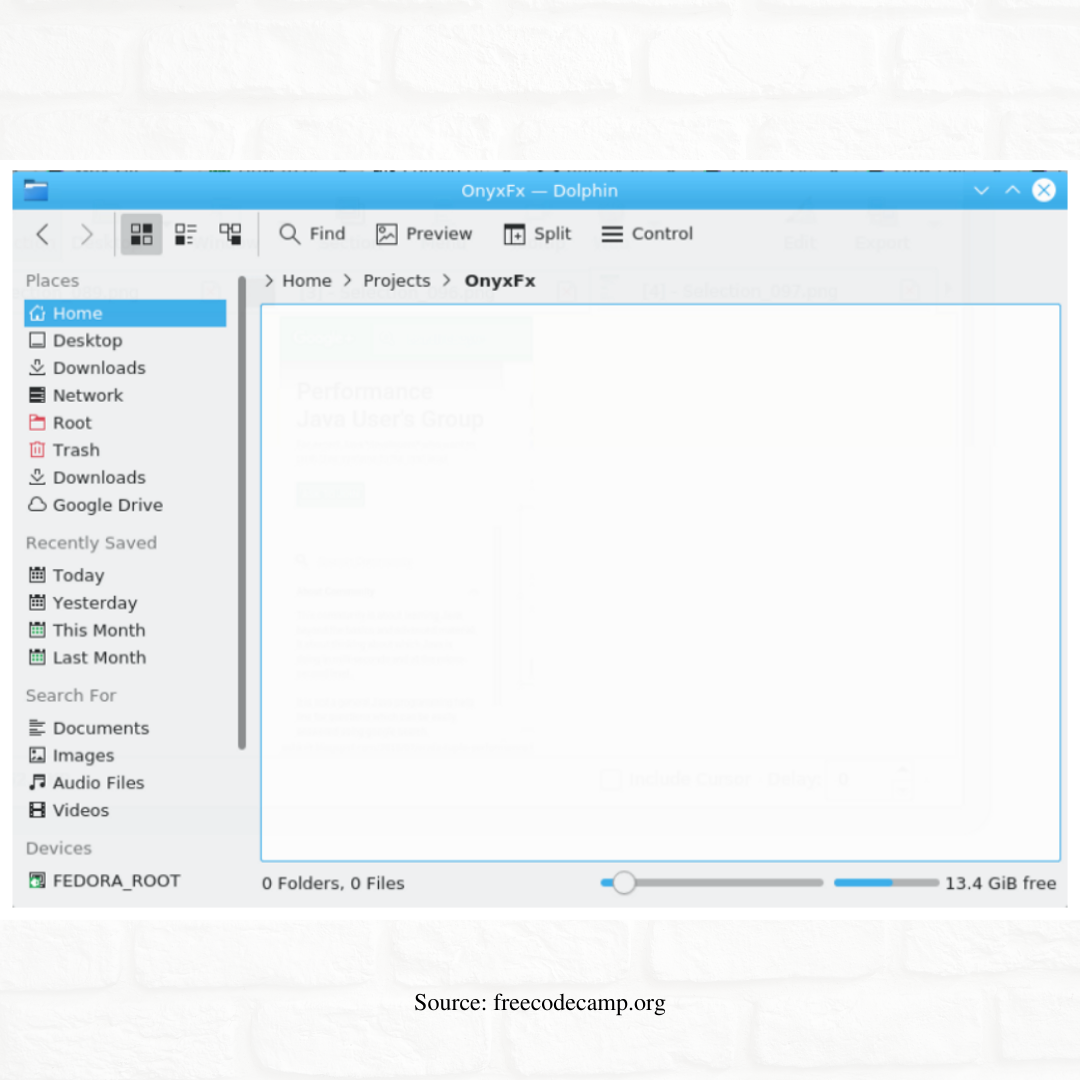
1. The foremost step is to create a folder to house the project. The below-mentioned picture shows how it will look like.
2. Once done with the basic step, you will now have to open a terminal in the root of the project directory. You have to first properly configure gradle (a build automation tool for a multi-language software development) and then the command should be executed. The coding will resemble the following:
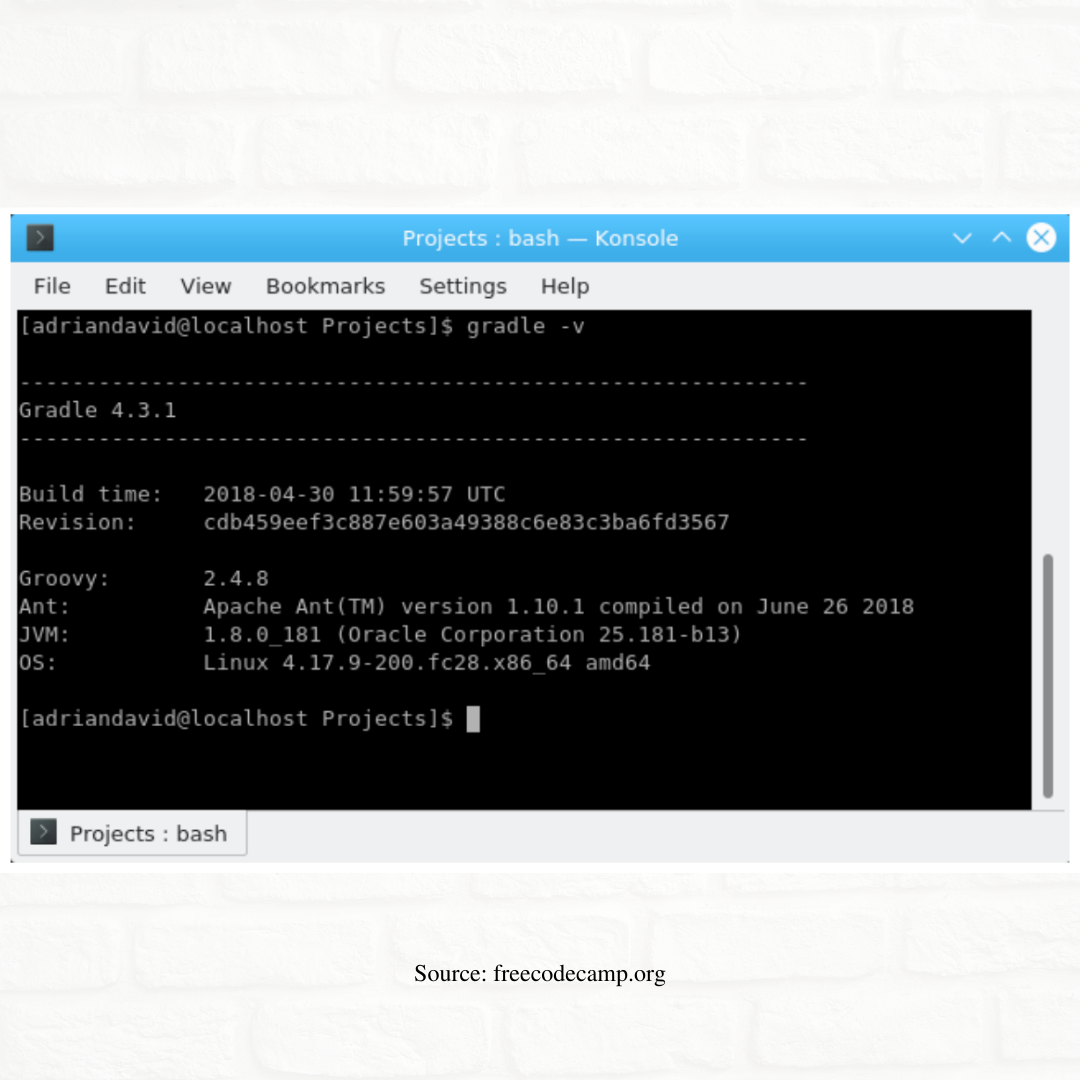
After this, make sure that the gradle lists the Java Development Kit (JDK) 8 installation adjacent to the labelled “JVM”. While it can be done in many ways, one of the popular one is to do in *nix environments and set the variable as /home/<user>/.bashrc or/etc/profile.
Verify it with the manual and operating system to make sure that the JAVA_HOME environmental variable is correctly placed.
JAVA_HOME=/home/adriandavid/java/oracle_jdk1.8.0_181/export JAVA_HOME
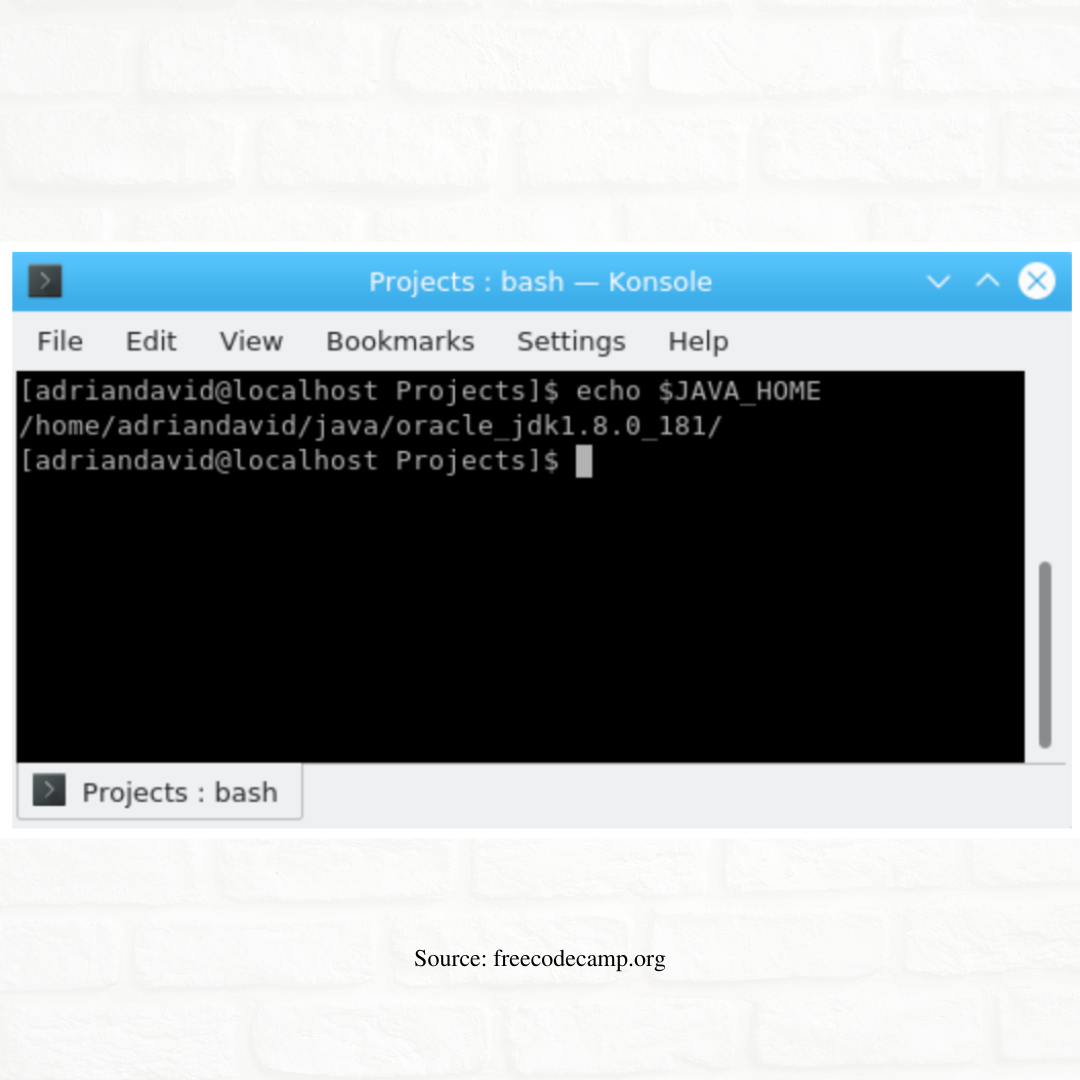
The aforementioned is one such example of placing the variable correctly. After this, you need to ensure that the above changes are correctly reflected by running the following command:
echo $JAVA_HOME
3. Get groovy with your favourite text editor and edit your build.gradle whose location is in the project’s root directory. Gradle is a build tool that helps in automating various tasks that include building apps like project organization, grabbing dependencies, etc. Now, replace the already existing contents with the contents of the following GitHub gist.
Furthermore, these gradle.build settings are configured to your gradle project to use the javafxmobile plugin, also known as the workhorse of our project. One of the main functions of javafxmobile plugin is to automate the process of downloading while adding the iOS and Android SDKs to your application’s classpath.
Please note that Android 7.1 Nougat (API version 25) and iOS 11 is targeted and you may adjust these accordingly. However, in the case of an Android platform – ensure that the API version is matching with the version of the SDK that you may have downloaded before. A detailed procedure can be learned in java full stacker development certification provided by NIIT.
4. Moving on to creating a new file in the project’s root directory named gradle.properties and configuring it. Insert the following particulars in the file:
Robovm.device.name=iPhone-7robovm.sdk.version=11.0org.gradle.jvmargs=-Xms4g-Xmx8g
These settings articulate that the javafxports plugin used as the on-board emulator in the premium series of an iPhone-7 so that iOS 11 is targeted. If you want to pass the Xms and Xms flags to the JVM that basically specifies both the initial memory pool to 4GB and the major memory pool to 8 GB memory. This will be necessary for the compilation of the open JDK and the development of the iOS build.
5. This step is only for the ones who intend to create an application on iOS, if not then skip this step. Install Homebrew, enter the terminal in macOS and give the following command.
/usr/bin/ruby -e "$(curl -fsSL https://raw.githubusercontent.com/Homebrew/install/master/install)"
6. Now you can install the USB Multiplexing Socket (iOS only). This step will only be successful if Homebrew is installed beforehand. Again, skip the step if you are not producing an application on the iOS platform. For those who are using macOS, use the below-mentioned command:
brew install usbmuxd7. Grab the ‘Android Command Line Tools’ for your chosen platform. Once the downloading part is over, you can easily unzip the folder and paste the contents into your selected directory.
8. Moving further, the setting of Android_HOME is required to grab necessary Android packages. In the case of Java, gradle should know where can the Android Command Line Tools be found. Make sure that you check that the API version and SDK are specified in gradle.build which is, in turn, corresponding to the version that we have already specified in this command.
9. To create an application’s directory structure, you first need to automate the creating process of the directories and execute a shell script. Note that the directories are created and embedded for the desktop. A separate desktop build is produced as no additional work can be conducted on the existing one. Also, no creation of build will happen in the case of embedded services.
10. You are almost there! Your next task would be creating your JavaFX application. Navigating to /src/<platform>/java and commencing the development of your own JavaFX application would be your next step. Starting with the basic code Hello World is what all generally do.
Though you can share the source code, always keep in mind that the custom edits are included in every source copy and decide whether you want or not to make any specific changes in the device.
11. The next task would be creating a RAM disk for iOS builds. Its compilation process will involve the exhaustion of a lot of resources as the plugin will have to be merged twice with all the open JDK and other libraries while creating a fat JAR which will contribute to building the final result of the application. Hence, you should already be ready beforehand to create a RAM disk to incorporate the memory needs.
12. And now the final stage! To build your application completely, you need to execute the gradle wrapper in the terminal’s root directory. The code is as follows:
./gradlew clean build
A desktop application packaged as a JAR with scripts will be produced so as to run the provided application. Note that the “in bin” contains scripts that are yet to be executed. These scripts are based on maintaining the structure of the current folder.
And by following all the aforementioned steps precisely, you will be able to build an application from scratch with the help of Java. To gain hands-on experience, head over to the website of NIIT – they offer a variety of full stack java developer courses!
SHARE


Java Developer Program
Become industry ready and learn the concepts of Java programming, design object-oriented applications with Java and create Java programs using hands-on, engaging activities.
Program Upgrade Options
7 weeks full time course